

By using our website, you agree to the use of cookies as described in our Cookie Policy
Blog
Is Your Home Ready for Interior Painting in Riverside?
Most homeowners think painting is just about color. Pick a shade, roll it on, call it done. But the walls tell a different story — and if you're not listening, you're setting yourself up for peeling, bubbling, and a redo in six months. Paint doesn't stick to hope. It sticks to prep. And in Riverside, where heat and dryness can crack surfaces faster than you'd think, skipping the groundwork is asking for trouble.
So here's the reality. If you're planning to refresh your space, that's smart. Just don't treat those walls like they're ready out of the box. Every crack needs filling. Every surface needs cleaning. And every decision should be grounded in what the room actually needs — not just what looked good on Pinterest.
What Your Walls Are Hiding
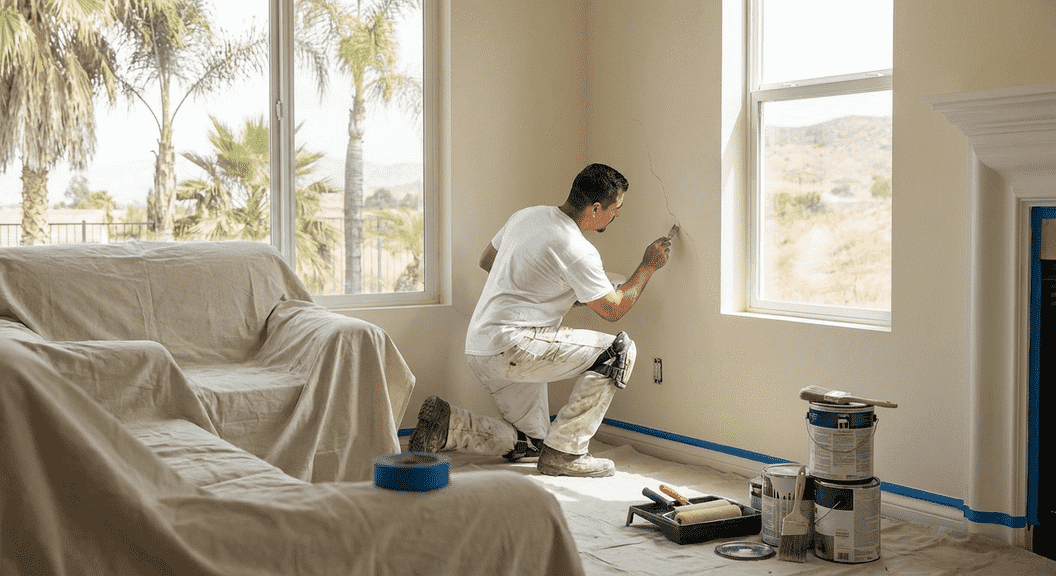
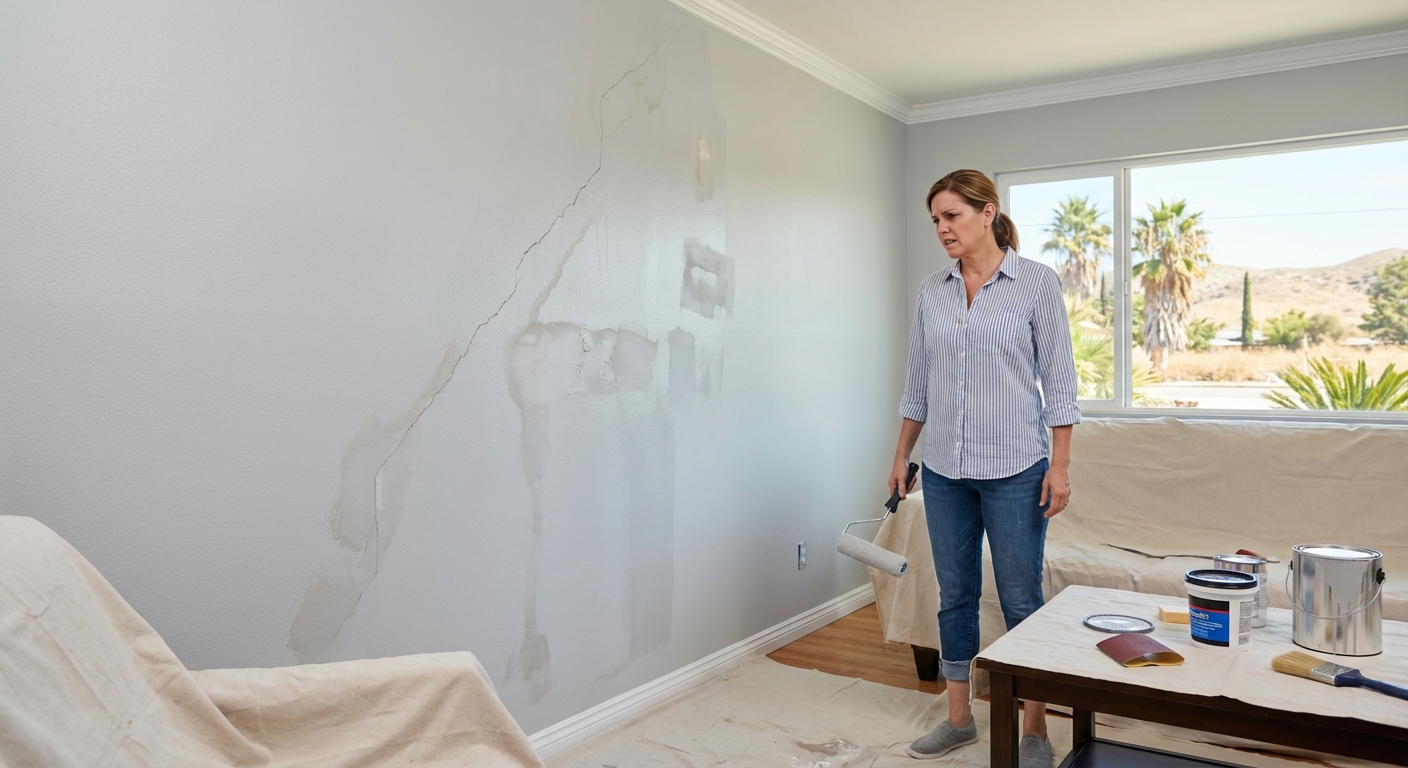
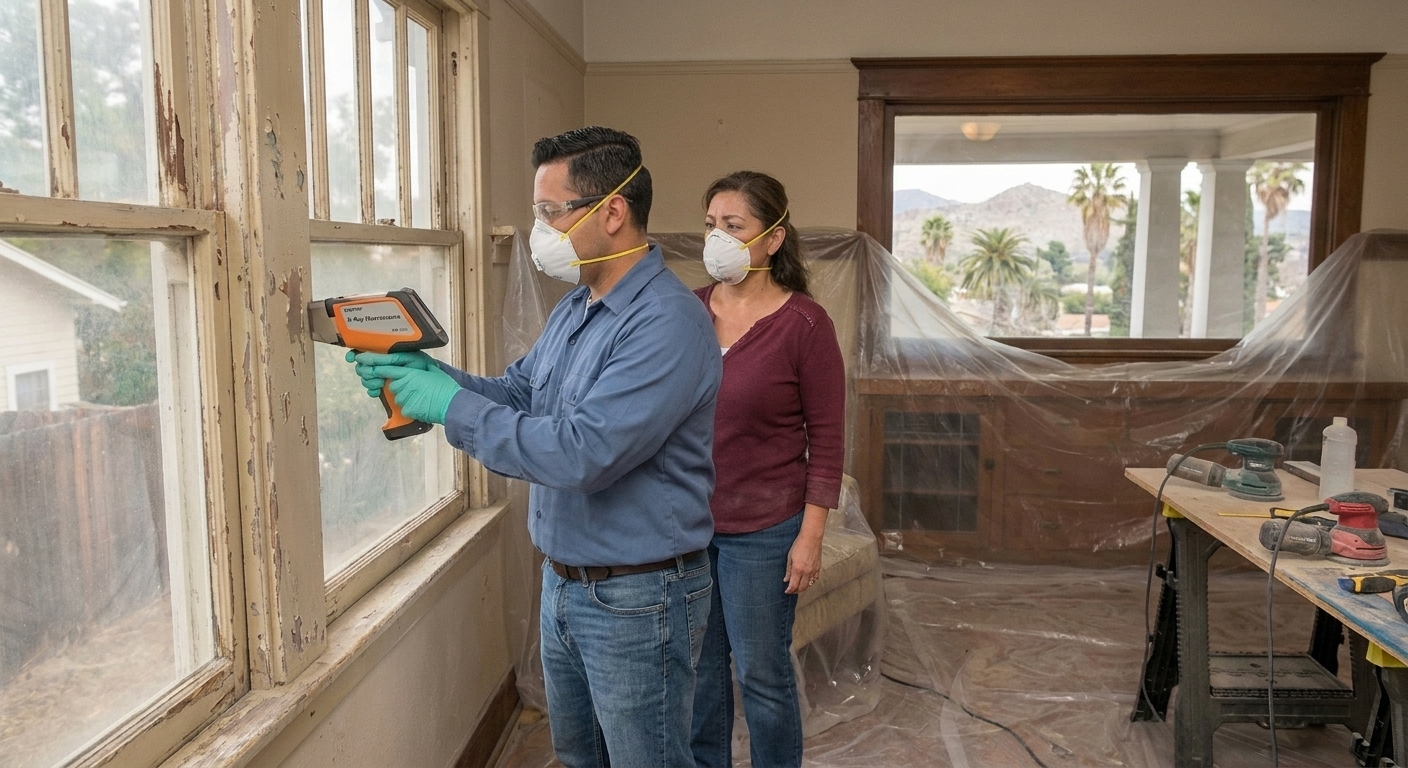
Before you crack open a single can, walk every room and look closely. Riverside's climate swings — hot days, cool nights, low humidity most of the year — put stress on drywall and plaster. You'll find hairline cracks, nail pops, and spots where old paint is lifting. Those aren't cosmetic. They're structural red flags.
Patch them with spackle or joint compound, sand them smooth, and wipe down the dust. If you spot water stains or discoloration near windows, bathrooms, or kitchens, don't paint over them. Fix the leak first. Moisture under fresh paint turns into mold, bubbles, or both. And once that starts, you're not just repainting — you're ripping out drywall.
The Paint You Pick Matters More Than You Think
Not all paint is built the same. Some finishes hide imperfections. Others highlight every flaw. Flat and matte work well in low-traffic spaces like bedrooms, but they're a nightmare in hallways or kitchens where walls take a beating. Satin and semi-gloss hold up better and wipe clean without losing their sheen.
Riverside's dry heat means you want paint that can handle temperature shifts without cracking or fading. Cheap paint might save you twenty bucks now, but it'll cost you twice that in touch-ups later. Go for quality. It covers better, lasts longer, and doesn't require three coats to look decent.
Prep Work No One Wants to Do
This is where most DIY projects fall apart. You can't just tape off the trim and start rolling. Walls need to be clean — actually clean, not dust-free. Grease, fingerprints, and grime all block adhesion. In kitchens, use a degreaser. Everywhere else, a damp cloth and mild soap will do the job.
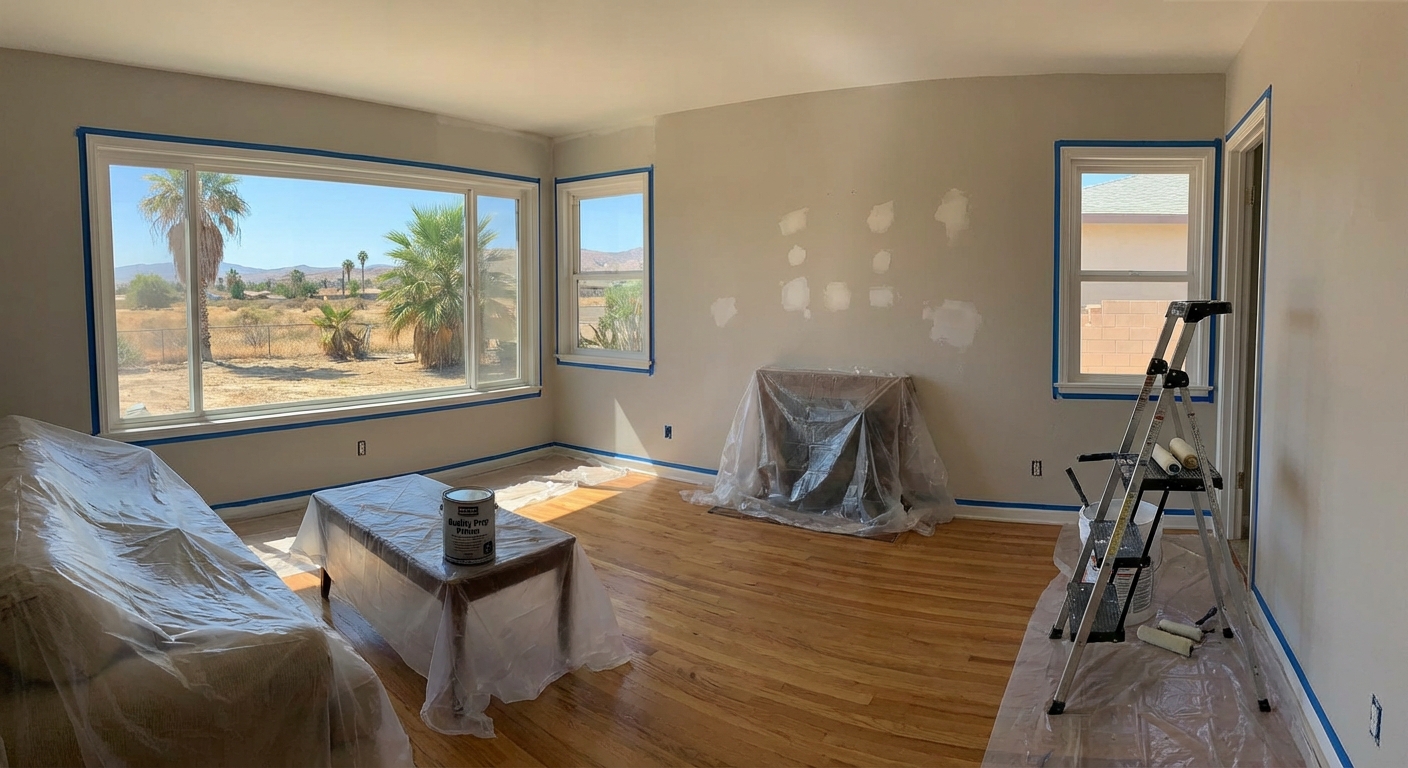
Once the walls are dry, pull off outlet covers, switch plates, and anything hanging. Move furniture to the center of the room and cover it. Lay down drop cloths that actually stay in place. Painter's tape goes on trim, baseboards, and ceiling edges — but only after the surface is clean, or it won't stick right and you'll get bleed-through.
- Remove all wall-mounted hardware and cover electrical outlets
- Wash walls with a degreaser in kitchens and bathrooms
- Fill cracks and holes, then sand them flush
- Apply painter's tape only to clean, dry surfaces
- Use heavy drop cloths that won't shift mid-project
Primer Isn't Optional in Some Rooms
If you're painting over dark colors, stains, or fresh drywall, primer is non-negotiable. It seals the surface, evens out absorption, and keeps the old color from bleeding through. Skipping it means you'll need extra coats of paint — and even then, the finish might look patchy.
Primer also helps in rooms with moisture exposure. Bathrooms and laundry areas benefit from a stain-blocking primer that prevents mildew and water damage from showing through your topcoat. It's an extra step, but it's the difference between a paint job that lasts and one that fails in a year.
- Use stain-blocking primer over water damage or smoke stains
- Prime fresh drywall or patched areas to ensure even coverage
- Apply primer when switching from dark to light colors
- Let primer dry fully before applying topcoats
- Choose moisture-resistant primer for bathrooms and kitchens
When the Weather Works Against You
Riverside doesn't get much rain, but when it does, humidity spikes. Paint dries slower in damp air, and that can lead to sagging, streaking, or uneven texture. Plan your project during dry stretches when temps are moderate — not during a heatwave or a rare rainy week.
Extreme heat can cause paint to dry too fast, which leads to lap marks and poor adhesion. If you're painting in summer, work early in the morning or late in the afternoon when the house is cooler. Understanding the best time of year to schedule your project can make all the difference. Ventilate the space, but don't blast fans directly at wet paint. Let it cure naturally.
- Avoid painting during high humidity or rainy periods
- Work in moderate temperatures for best drying results
- Ventilate rooms without aiming fans at wet surfaces
- Allow extra drying time between coats in cooler weather
- Don't rush the process to meet an arbitrary deadline
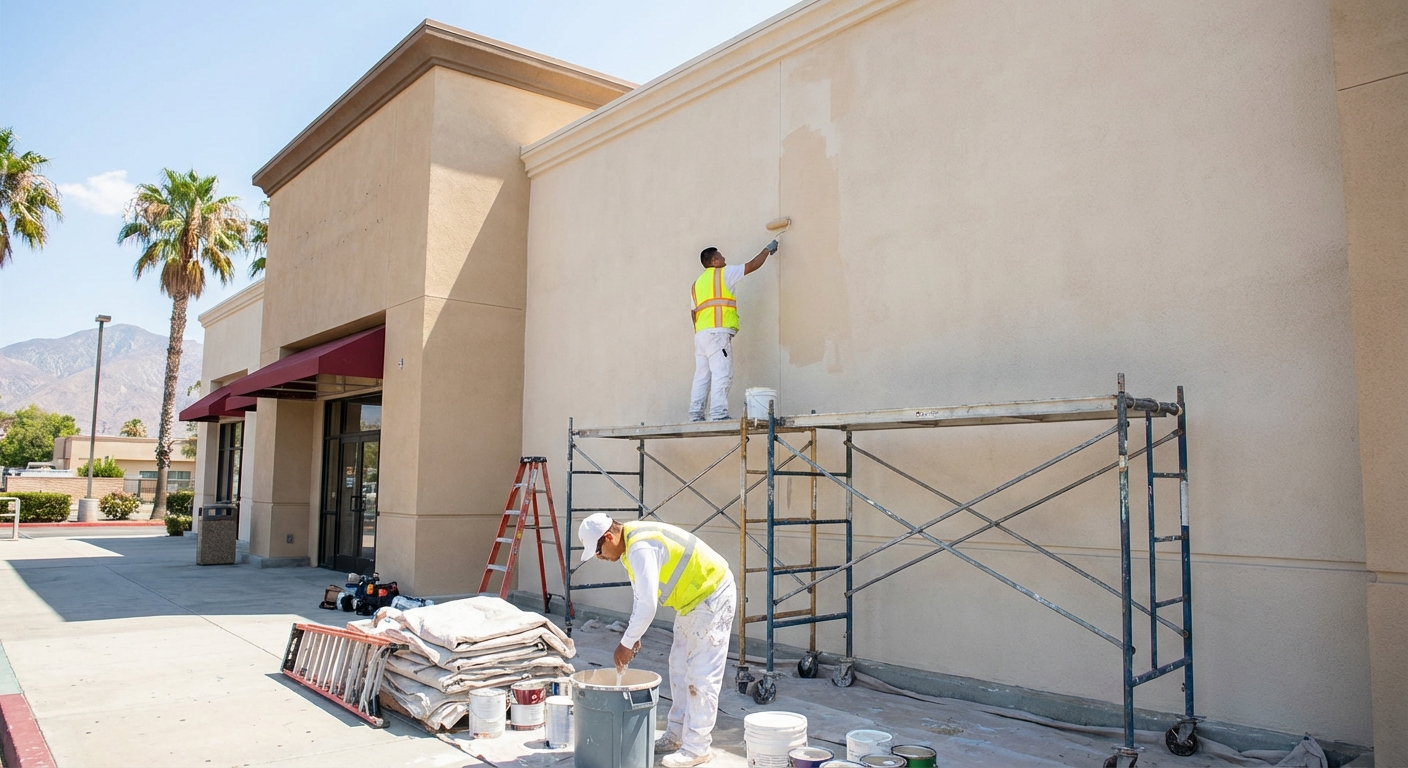
DIY or Bring In a Pro
Painting a bedroom yourself? Totally doable. Tackling vaulted ceilings, intricate trim, or a whole-house refresh? That's where pros earn their keep. They've got the tools, the experience, and the speed to handle complex layouts without the learning curve.
If you're going solo, take your time. Don't cut corners on prep, and don't assume you can eyeball measurements or skip the tape. The difference between a clean job and a sloppy one is usually just patience. But if the scope feels overwhelming or you're short on time, hiring residential painting professionals isn't a cop-out — it's smart project management.
- Professionals handle high ceilings and detailed trim faster
- DIY works well for single rooms with straightforward layouts
- Pros bring commercial-grade tools and materials
- Hiring help frees you up to focus on other priorities
- Either way, prep work is still the foundation of success
The Supplies You Actually Need
Don't show up with a single roller and a prayer. You'll need brushes for edges and trim, rollers for walls, extension poles for ceilings, and trays that don't tip over. Cheap brushes shed bristles. Cheap rollers leave lint. Spend a little more on tools that won't sabotage your finish.
Stock up on painter's tape, drop cloths, sandpaper, spackle, and a putty knife. If you're doing multiple rooms, buy in bulk. Running out of supplies mid-project kills momentum and leads to mismatched batches if you have to buy more paint later.
- Invest in quality brushes and rollers that won't shed
- Use extension poles to reach ceilings without a ladder
- Buy enough paint to finish the job in one go
- Keep spackle and sandpaper on hand for touch-ups
- Use sturdy drop cloths that protect floors and furniture
Painting Smart Means Painting Once
Rushing through prep to get to the fun part is how you end up repainting in a year. Riverside homes deserve better than that. Take the time to fix what's broken, clean what's dirty, and prime what needs sealing. The paint will go on smoother, dry cleaner, and last longer.
Whether you're doing it yourself or calling in a crew, the rules don't change. Prep wins. Quality materials win. And patience wins. Get those three right, and your walls will look sharp for years — not months. If you're considering how paint color affects the feel of your space, or which paint colors make your home more valuable, proper preparation ensures those choices shine through beautifully.
Ready to Transform Your Home?
Let's make your next painting project one you won't have to redo. We know Riverside homes inside and out, and we're here to help you get the results you want—without the hassle or guesswork. If you're ready for a flawless finish that lasts, give us a call at 951-785-6765 or schedule an appointment and let’s bring your vision to life together.
‹ Back
Recent Posts
-
-
Can You Paint Over Damaged Walls in Your Riverside Home?
June 15, 2026
-
-
-